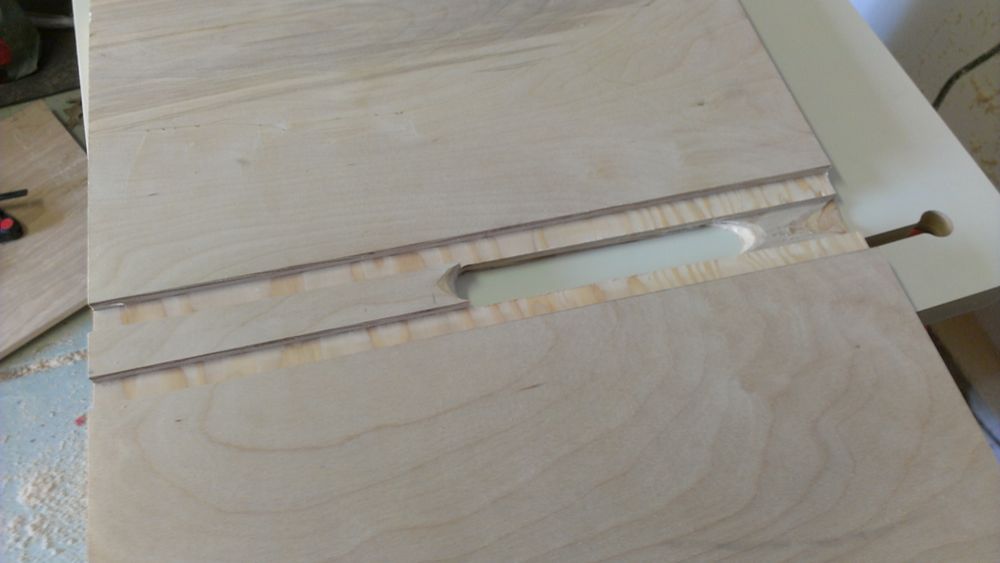
Yes that is Flex-seal :) lol
Showing posts with label Woodworking. Show all posts
Monday, August 5, 2013
Scrapwood Bike Stand
I had built this a while back but just found all the pictures I took during the process. I spent a ton of time measuring this all out so it would fit together tight and be very strong. It's a bit overkill but it does the job so well. This was about a half sheet of plywood left over from building the router table cabinet. I was tired of leaning my bike against things in the shop so I whipped this up.
Tuesday, April 9, 2013
Walnut Raspberry Pi Enclosure - All done
Sunday, April 7, 2013
Walnut Raspberry Pi Enclosure - Pt. 6
Continue on with this project:
I sourced some 4-40 by 3/4" machine screws with nuts for about 2 bucks at Lowes and got some nylon spacers that I cut down to 3/16" to bring the board off the bottom.
I love LOVE love Sticky backed sandpaper! I'll take a big piece and stick it straight to the table saw. I know I have a perfectly flat surface. Here I have some 120 and 220 grit. along with a block for the insides, and some on a flat head screw driver to get in the corners good. After I was done with the 220 I used some 400 then 600 then 800 THEN 1200. those I had to tape down the ends on but you are being so gentle at this point taping it down is just fine. I did a lot of hand (one finger or two wrapped in sand paper) at this point to get out all the tool marks and get it ready for some mineral oil. This is NOT the step to short your self on. once the oil or stain is on you can go back and sand out a tool mark very easily.
Heres a sneak peak, glamor shots in the next post.
Continue on with this project:
Saturday, April 6, 2013
Walnut Raspberry Pi Enclosure - Pt. 5
Continue on with this project:
I marked all the ports and started at the Drill Press. I drilled larger holes for the RCA and 3.5mm jacks and those will be left like that. The HDMI, Power, and SD slots are squares and I started by drilling smaller holes around the outside then cleaned them up with the chisel and exacto knife.
I used a pull saw I have for cutting dove tails to cut out the USB and RJ-45 holes. Any saw that you can cut a clean line with will do.
A neat trick I learned a while back is to score the cut line with an knife then cut on the inside of the line. It will virtually eliminate tear out from the saw tooth. You can see the left side (that I don't care about) I torn up pretty good where as the right side is all sorts of pretty. :)
Some test fitting to make sure everything works out and I mark the mounting holes to be drilled out from the bottom.
Continue on with this project:
Monday, April 1, 2013
Walnut Raspberry Pi Enclosure - Pt. 4
Continue on with this project:
This is a bit of a brain game to setup the Router table just right to make these cuts precisely, even, and repeatable. Since I don't want to cut nearly 3/4" deep all at once I will go in stages of about 1/8" at the beginning then 1/16" for the last few passes.
So all my measurements are based from only two points. First is the miter track in front of the router. It is a known straight line that never moves in relationship to the bit, and then also the bit it's self. I start off with the square and measure from the track to both the near far cutting sides of the bit. Then I strike out a line across the width of the table adding an extra line to show the thickness of the RPi's enclosure wall. (Yellow markings on the left side of the picture)
Next I take the near side of the bit's and measure back the width of the enclosure's interior dimension plus the other wall's thickness. I set the fence to that mark (Blue markings in the picture) This lets me cut the long walls to the right side by sliding the piece along the fence.
Now I find the limits to cut the short sides. and I could take the same approach and just move the fence back once I'm done with the long sides but I want to be able to come back and not worry about setup changes. So I mark the width of the bit against the fence it's self. Then make that same kind of measurement from inside wall to opposite outside wall. I do this for both direction so I can use the fence it's self as a corner stop and this allows me to do all 4 walls without moving anything but the depth of the router.
Now where I put those marks I put in two right angle clamp blocks so now I have essentially 3 fences and never need to make another adjustment.
After a bunch of passes I'm left with a decently flat bottom and nice sides. I take a nice sharp chisel to the corners to square them up and we have this...
Continue on with this project:
Sunday, March 31, 2013
Walnut Raspberry Pi Enclosure - Pt. 3
Continue on with this project:
Getting the block cleaned out will be a two part post since the setup at the router table is intense.
I used the marking gauge here just to show where each sections was. The top is the waste that was cut off to get the proper final dimensions Next is the 1/4" of the lid that will be exposed when the lid is on. Next I made a cut about 3/13" deep to put a lip on the lid so it would stay in place. After this is the important part of measuring out the extra 1/8" for the blade kerf to part the lid from the base. Cutting the lid from the base like this helps the grain pattern stay as close as possible.
This is just the lid lip cut in. Notice I don't have a flat tooth blade so there was a V groove I took care of with hand tools later.
Now I used the marking gauge to layout the wall thickness before heading to the drill press
I started out with a small bit to just take out the materials in the corners. I have my depth gauge set to just about 1/8" shy of the final depth since forstner bits will leave a point in the middle and a ring on the outside at the bottom of their hole.
Then stepped up to a slightly larger bit to clear most of the waste out. If I did this all at the router table I would have burned up a few bits and spent a day doing it.
This is what you are left with after the drill press. On to the router table!
Continue on with this project:
Subscribe to:
Posts (Atom)