I read the specs on the Nexus 5 as I order it and my thoughts as always go to, "What accessories can I buy/make to make all this cooler?" Then I see the wireless charging. "Sweet I want a Qi car dock so I can just slap it in there and go..." I tell myself, only to find the options are either crappy Chinese made docks that look like crud or $200+ options that aren't all that great either.
At this point my, "They don't make it... Fine I WILL!" mentality takes over and I start digging thru options of Qi charging pads. Reading tons of reviews, digging thru spec sheets, taking measurements, etc. I settle on the Nokia DT-900 charger. It has great review, is the right size, runs on 12 volts, and looks great. The only problem is it retails for north of $40 bucks most places, but oddly enough AT&T has them on sale all the time for $24, and when I ordered them they had 25% off if you ordered 3 or more accessories. So I ended up getting them for $18 a piece. about $55 for all 3 shipped. just a tad more than one other places.
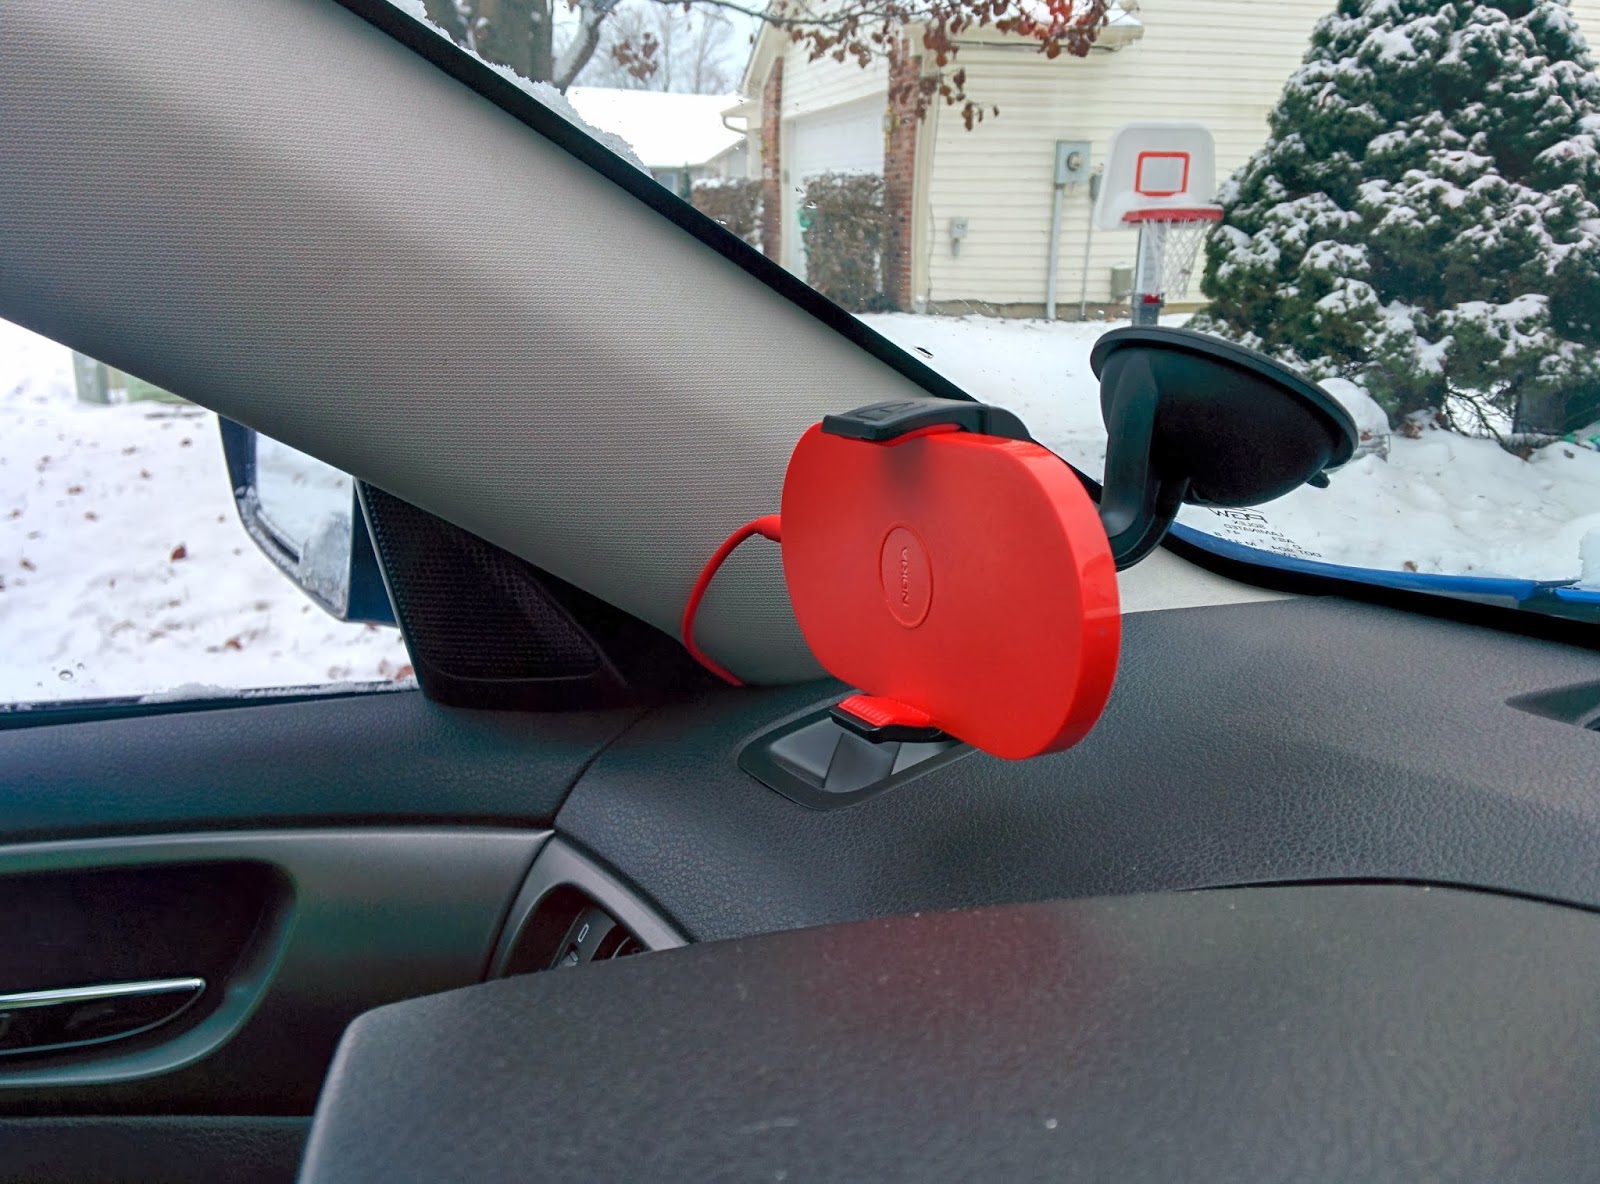
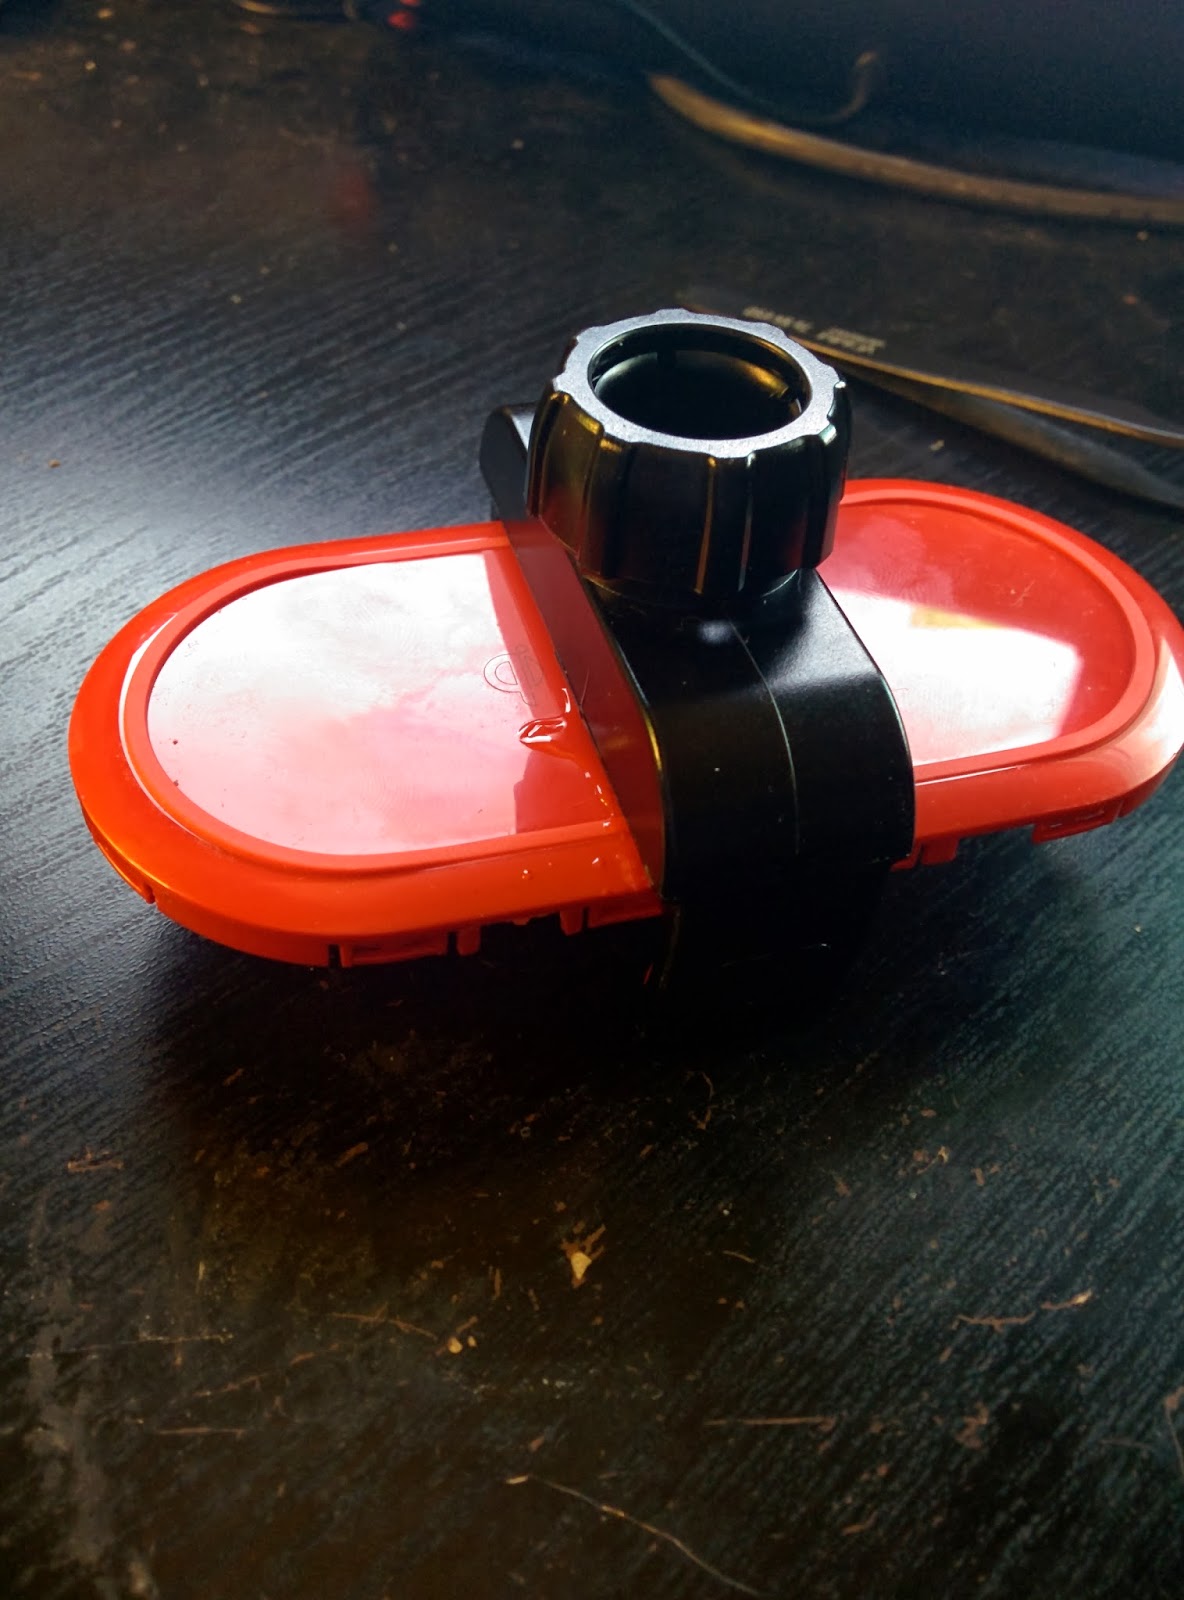
Then I turned my attention to the cradle it's self. I needed something universal, strong, and that would fit with phone and charger. I found the Aduro U-GRIP Plus from Amazon for $20 It had good reviews, everything would fit, and looked the part too.
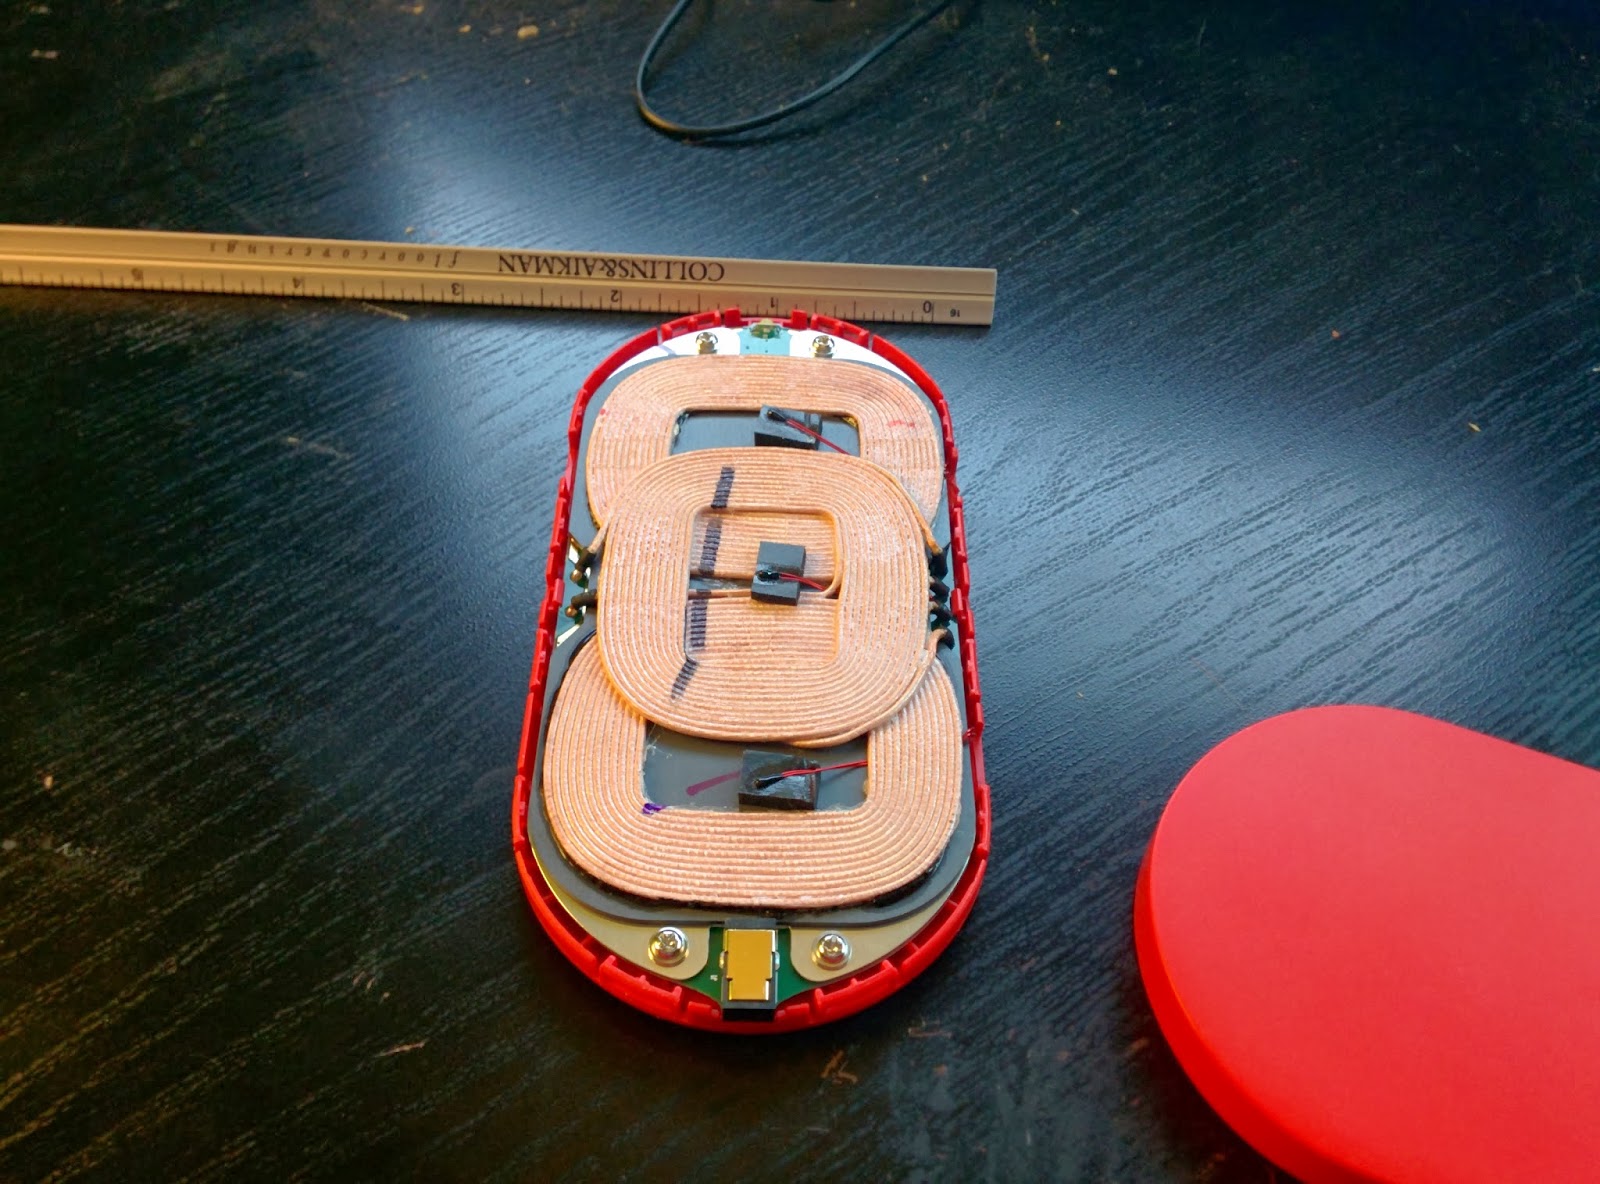
Here are some good shots of the charger torn down. You can see it has 3 pads so it is pretty much one big charger. It's hard to miss the "sweet spot" on it when it is ALL CHARGER. lol


I pulled the gripping pads out of the cradle so I could Epoxy the charger in place on just one of the expanding arms. This gave me an extra 2mm for the phone to fit in the arms a bit better as well.


I wanted to wire it directly to the car and went over board on this part based on some other long term projects in my WRX. I brought a new power cable into the cabin directly from the battery (30amp fused at the battery) then wired it to a brand new fuse block so I can wire multiple things off this new run and not have to "Tap into" other circuits. I did tap into the ACC line so I could use a relay to make the fuse box only live when the car is on. so any of the things I wire off it won't drain the battery. I'm sorry i don't have any pics of this setup but I will work on writing that part up in another post soon.
Also one thing to note here is that the power you get from your car is NOT very "clean". While running the alternator is pumping out 13-15 volts. Second there are massive spikes from different parts turning on and off and relays that are not protected by diodes so 50-80volt spikes are not uncommon. So this should be considered or any bit of electronics wired directly to the car's "+12v" supply will not be long for this world. For the charger (and my radar detector) I built a power supply to keep it below 12v and handle the spikes.
I had some Sharp PQ12RD21's Voltage regulators sitting around so I used those along with a simple TVS circuit to handle spikes above 18 volts. (no I don't have a digital version of the schematic I will get a picture of my notebook soon) For those out there that power supply design isn't in your ball park I'd go get something simple like these maybe these Ebay 3A DC-DC Buck converters with an LM2596S These have a low drop out aswell so that when the car is in ACC and not running ever just the battery at 12ish volts would still put out around 11.5 (I'm guessing here based on the datasheet for the LM2596S) and with my setup 11.5 is still enough to power the Qi pad.
I did some testing with the pad to see what it's current draw was. I ran some tests, a full charge from 0% to 100% This took about 3 hours (about 20% long then a normal full A/C wall charger) Then another test with the phone at around 50% running GPS and Streaming Netflix over LTE. This netted a decrease in battery of about 8% over 4 hours, so that is pretty good in my book. On a recent road trip I kept switching from Torque to Waze and I ended up still charging from 60% to 100% with the screen on for the whole 6 hours, Not sure how long it took but I ended the trip with a phone at 100% :D
 |
| With no phone the DT-900 draws about 4mA on it's on and about 30mA once I added the power supply circuit |
 |
| While charging it draws about 700mA when the battery is low and tapers down as the phone approaches 100% Here it is around 80% and drawing about half an Amp. |
 |
| The phone is a bit offset since the charger is attached to the lower arm but it still meets up with the charging pads very well. |